 Save
Save There's something about the smell of chickpeas soaking overnight that takes me straight to my friend Layla's kitchen in Beirut, where her grandmother would have massive bowls lined up before dawn. I'd shown up unannounced one morning, and she laughed at my timing—falafel day, she said, as if that explained everything. Watching her hands move through the process with such ease, I realized these weren't fancy technique moments; they were just about knowing your ingredients and trusting your instincts. Years later, I finally understand what she meant.
I made these for a picnic last spring, and someone actually said they were better than what they'd had in Damascus. I nearly dropped my pita. The thing is, I'd almost skipped the cilantro that day because I thought I was out, but there it was, wilting slightly in the back of the fridge, and I threw it in anyway. That little moment of improvisation somehow became the best batch I'd ever made.
Ingredients
- Dried chickpeas (1 cup): Don't use canned—they'll fall apart and absorb too much oil. The dried ones have a structure that holds everything together, and soaking them overnight means you're working with something alive and ready to bind.
- Yellow onion (1 small, roughly chopped): The small pieces will disappear into the mix, but they bring a subtle sweetness that balances all those herbs and spices.
- Garlic (3 cloves, peeled): Raw garlic has a sharper bite here, which cuts through the richness of the oil in the best way.
- Fresh parsley (1 cup packed): This is your base note—use the tender leaves and a bit of the stem, and don't skip it thinking dried will work.
- Fresh cilantro (1/2 cup packed): Some people skip this, but it's what makes these taste like they came from somewhere real, not a recipe card.
- Ground cumin (2 tsp): Toast it in a dry pan first if you have time—it wakes up the spice and makes the whole batch smell like a market.
- Ground coriander (1 tsp): This is the quiet spice that makes people ask what the secret ingredient is without ever knowing they're tasting it.
- Cayenne pepper (1/2 tsp, optional): Add it if you like a gentle heat, skip it if you're cooking for people who prefer their food mild.
- Baking powder (1 tsp): This helps them puff up slightly and stay light inside; it's non-negotiable for texture.
- Salt (1 tsp) and black pepper (1/2 tsp): Taste as you go—you may want more depending on your oil and other ingredients.
- All-purpose flour (3 tbsp): Use chickpea flour if you need gluten-free, though all-purpose gives a slightly better bind in my experience.
- Vegetable oil (for deep frying): You need enough to submerge them fully, and it should hold at 350°F without smoking.
Tired of Takeout? 🥡
Get 10 meals you can make faster than delivery arrives. Seriously.
One email. No spam. Unsubscribe anytime.
Instructions
- Soak those chickpeas:
- Rinse your dried chickpeas under cold water, then drop them into a large bowl with plenty of cold water—they'll roughly double in size. Cover and leave overnight, or even up to 12 hours. In the morning, drain them really well and pat them dry with a kitchen towel.
- Build the base:
- Add your drained chickpeas to a food processor along with the chopped onion, garlic, parsley, and cilantro. Pulse until everything looks like wet sand with some texture still left in it—you're not making a paste, you're breaking things down but keeping them recognizable.
- Season and bind:
- Sprinkle in the cumin, coriander, cayenne if you're using it, baking powder, salt, pepper, and flour. Give it a few quick pulses, then scrape down the sides and mix by hand just to make sure everything is even.
- Shape with damp hands:
- Wet your hands so nothing sticks, then roll pieces of the mixture into balls about the size of a walnut—roughly 1½ inches across. Set them on a tray as you go, and if the mixture feels too loose and won't hold together, add another tablespoon of flour and mix again.
- Get the oil ready:
- Pour vegetable oil into a deep pot until it's about 2 inches deep, then heat it to 350°F. If you don't have a thermometer, drop a tiny piece of the mixture in—it should sizzle immediately and float up within a few seconds.
- Fry in batches:
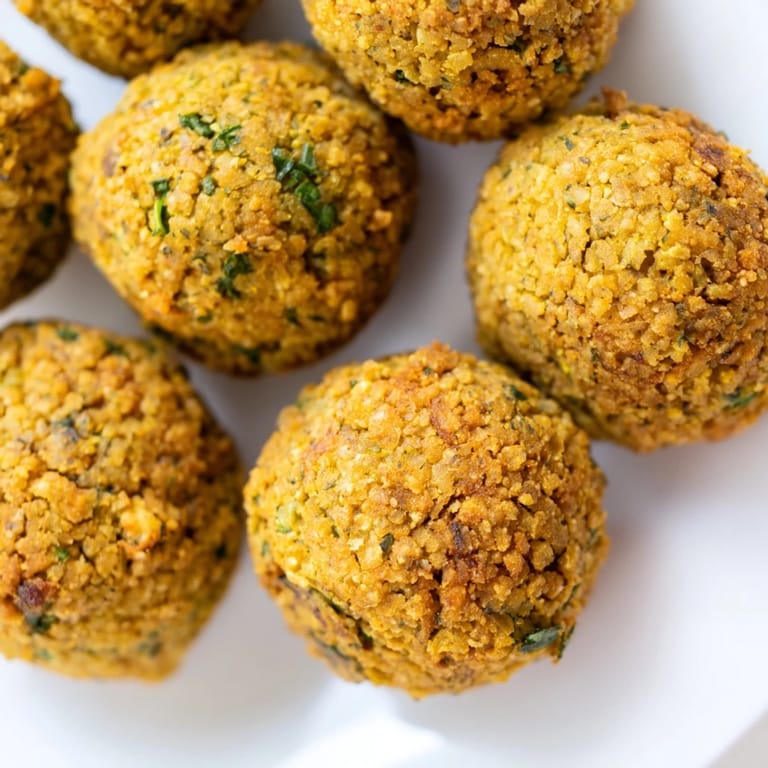
- Carefully lower a few falafel balls into the hot oil—don't crowd the pan because they need room to move and cook evenly. Let them fry for about 3 to 4 minutes, turning them halfway through with a slotted spoon until they're deep golden brown all over.
- Drain and rest:
- Use a slotted spoon to scoop them out onto a plate lined with paper towels. They'll crisp up even more as they cool, and they're best eaten warm or at room temperature, never cold from the fridge.
 Save
Save My favorite memory isn't even about eating them—it's about my neighbor coming over while they were cooling and eating one straight off the paper towels, standing in my kitchen, eyes closed. That's when I knew I'd nailed it.
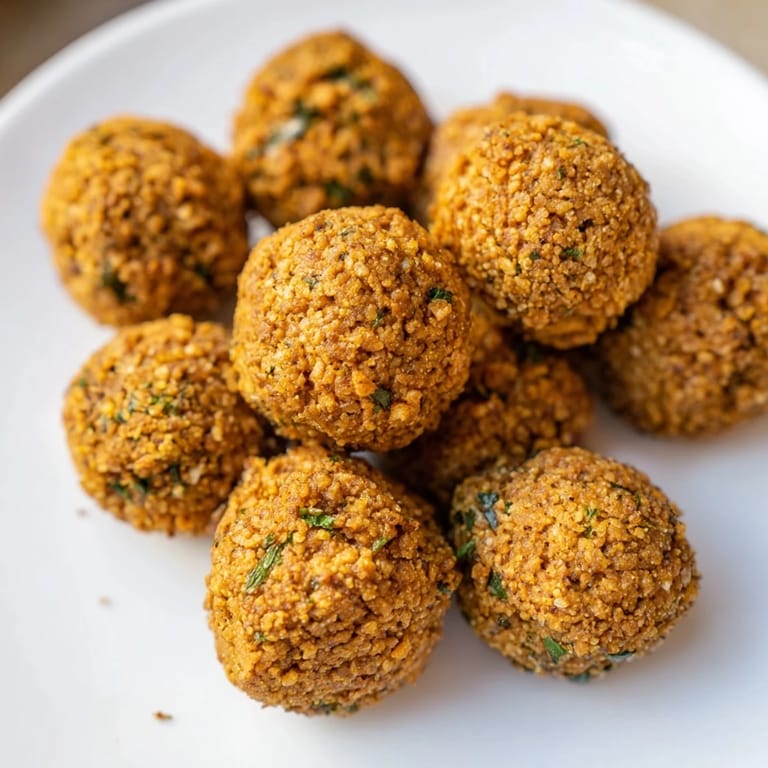
The Herb-Forward Approach
What makes these different from a lot of falafel is how much fresh herbs are packed into every single ball. The parsley and cilantro aren't just a garnish idea—they're the main flavor story, and they need to be really fresh and tender. If you find yourself with herbs that have been sitting around, this is actually a great way to use them up, but the results are brightest when everything is at its peak. The green flecks throughout the mixture are a good sign you've done it right.
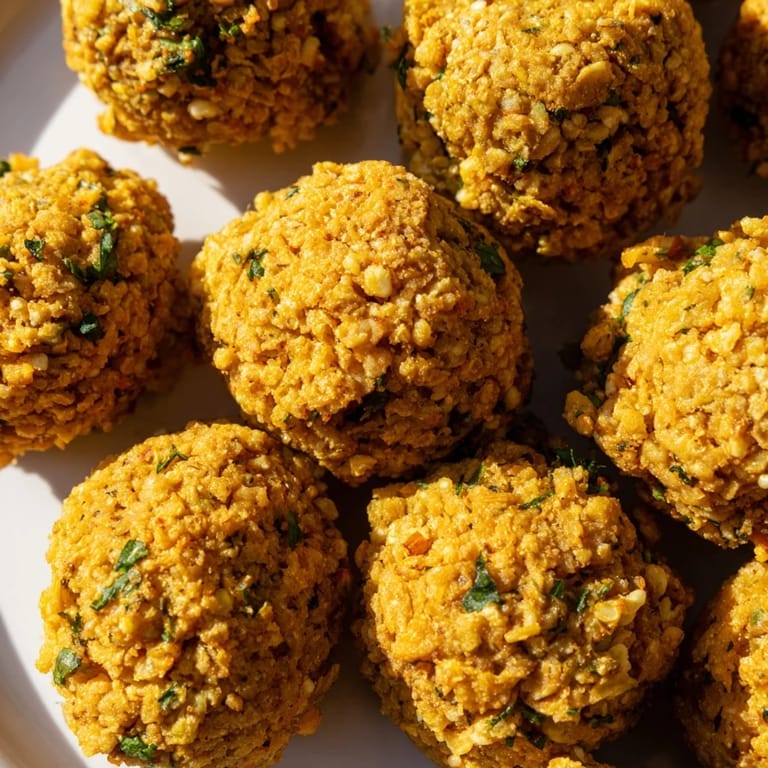
Why Soaking Matters
Using dried chickpeas instead of canned is the whole reason these work the way they do. When you soak and drain them, you're left with chickpeas that have a structure and starch content that actually holds the mixture together without needing eggs or lots of flour. They'll also absorb the flavors more evenly, and they won't get waterlogged the way canned chickpeas would. It seems like an extra step, but it's honestly what separates good falafel from the kind that falls apart in the oil.
Serving and Storage Ideas
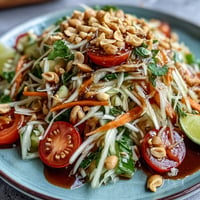
Warm falafel in a soft pita with tahini sauce, fresh tomatoes, and pickled vegetables is the classic move, but they're also incredible crumbled over a salad or served on a mezze platter with hummus and baba ganoush. They'll keep in an airtight container for a few days, and you can reheat them gently in a 300°F oven for about 5 minutes if they've cooled down. If you want to skip the deep frying, brush them with oil and bake at 400°F for 20 to 25 minutes, turning halfway—they won't be quite as crispy, but they'll still be delicious.
- Make extra and freeze them uncooked on a tray, then fry from frozen (just add a minute or two to the cooking time).
- Tahini sauce mixed with lemon juice and garlic is the real MVP on the side—don't skimp on this part.
- Serve them while they're still warm and the outside is at its crispiest.
 Save
Save These are the kind of recipe that tastes like someone cared, even if you whipped them up on a weeknight. They turn a simple meal into something that feels special.
Recipe Q&A
- → How do you achieve a crispy falafel exterior?
Deep frying at 350°F (175°C) until golden brown creates a crisp crust while keeping the inside moist. Using dry chickpeas soaked overnight helps the texture.
- → Can these falafel balls be baked instead of fried?
Yes, brush them with oil and bake at 400°F (200°C) for 20–25 minutes, turning halfway to ensure even crispiness.
- → What herbs enhance the flavor of falafel?
Fresh parsley and cilantro add a vibrant, fresh taste that balances the spices and chickpeas.
- → Is it necessary to soak chickpeas overnight?
Soaking softens the chickpeas, allowing for proper blending and a better texture that holds together when formed into balls.
- → Can chickpea flour replace all-purpose flour?
Yes, chickpea flour is a gluten-free alternative that helps bind the mixture while keeping it suitable for gluten-sensitive diets.