 Save
Save I discovered sushi rolling in the most unassuming way—standing in my tiny kitchen at midnight after a farmer's market haul, suddenly overwhelmed by a pile of perfectly ripe avocados and crisp cucumbers I couldn't possibly eat raw before they turned. My hands were clumsy at first, wrestling with the bamboo mat and sticky rice, but somewhere between the second and third roll, something clicked. Now these simple veggie rolls are my go-to when I want to feel like I'm doing something fancier than I actually am, without the stress.
I remember making a batch of these on a Sunday afternoon when my sister called to say she was coming over with her new girlfriend, and I panicked because my fridge felt empty. Two hours later, I'd transformed nothing into something that looked intentional and impressive, all while we laughed and caught up in the kitchen. That moment taught me that the simplest ingredients, handled with a little care and attention, can feel like a gift you're giving someone.
Ingredients
- Sushi rice (1 cup): The foundation of everything—rinse it well until the water runs clear, which removes excess starch and keeps your rolls from turning into mush.
- Water (1 ½ cups): The ratio matters more than you'd think; too much and you'll have porridge, too little and you'll have crunchy frustration.
- Rice vinegar (2 tbsp): This is what makes sushi rice actually taste like sushi rice; don't skip it or use regular vinegar as a substitute.
- Sugar (1 tbsp) and salt (½ tsp): These balance the vinegar and bring out the rice's natural sweetness—taste as you go and adjust to your preference.
- Ripe avocado (1): Slice it lengthwise the night before if you're worried it'll brown, and keep it tightly wrapped until the last moment.
- Cucumber (½ large): Julienne it thick enough that it won't disintegrate but thin enough to roll smoothly; a mandoline makes this effortless if you have one.
- Carrot (1 small, optional): The color and crunch are nice touches, but honestly, avocado and cucumber alone are all you need.
- Toasted sesame seeds (1 tbsp, optional): Toast them yourself in a dry pan for two minutes if you can; the difference is subtle but real.
- Nori sheets (4): Buy the good stuff—it should smell oceanic and fresh, not stale or plasticky.
- Soy sauce or tamari, pickled ginger, wasabi (for serving): These aren't just condiments; they're flavor corrections and palate cleansers rolled into one.
Tired of Takeout? 🥡
Get 10 meals you can make faster than delivery arrives. Seriously.
One email. No spam. Unsubscribe anytime.
Instructions
- Rinse and prepare the rice:
- Hold the sieve under running water and stir the rice gently with your fingers until the water runs completely clear; this takes patience but prevents gluey rolls.
- Cook the rice:
- Bring water and rice to a boil, cover, drop the heat to low, and walk away for 18-20 minutes—resist the urge to peek. When it's done, the water will have disappeared and you'll hear nothing but silence.
- Make the vinegar mixture:
- Combine rice vinegar, sugar, and salt in a small bowl and stir until the crystals dissolve; the salt matters because it seasons the rice evenly.
- Season the rice:
- Once the rice has cooled slightly, gently fold the vinegar mixture through it using a wooden spoon or rice paddle, turning it slowly to avoid crushing the grains. The rice should glisten but not be wet.
- Set up your rolling station:
- Place your bamboo mat on a cutting board, cover it with plastic wrap, and keep a small bowl of water nearby for your hands and sealing the rolls.
- Lay down the nori:
- Place one sheet on the mat with the shiny side down—the rough side is where the rice sticks. Wet your hands and spread about a quarter of the rice evenly across the nori, leaving a border at the top and a thinner strip at the bottom where you'll start rolling.
- Add your fillings:
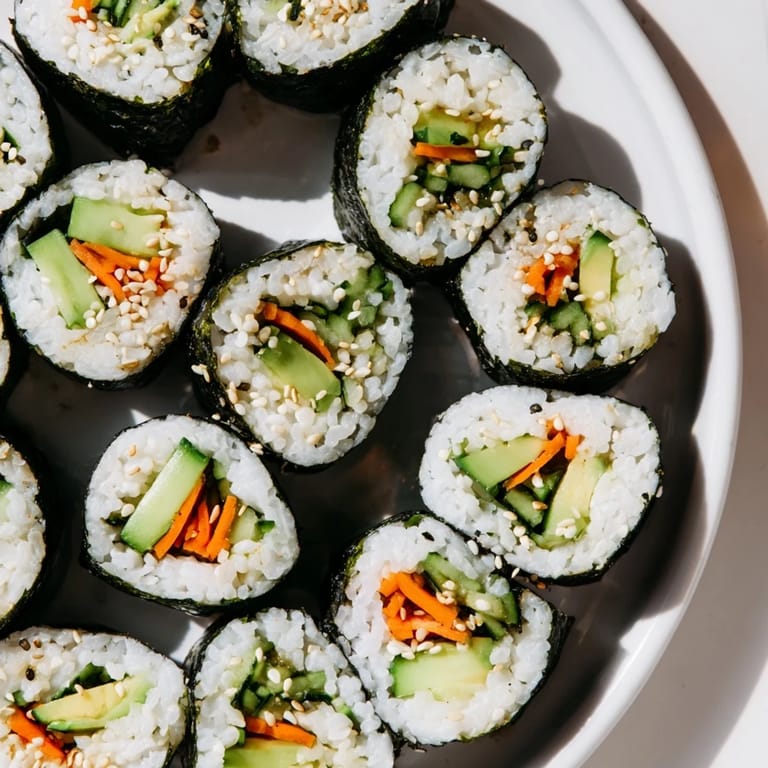
- Arrange avocado slices, cucumber sticks, and carrot (if using) in a thin line along the bottom edge of the rice; don't overstuff or you'll struggle to roll tightly. A light sprinkle of sesame seeds finishes this layer.
- Roll with intention:
- Using the mat as your guide, fold the bottom edge up and over the filling, pressing gently as you roll away from you to form a tight cylinder. Moisten that top border with water and seal it by pressing down.
- Slice cleanly:
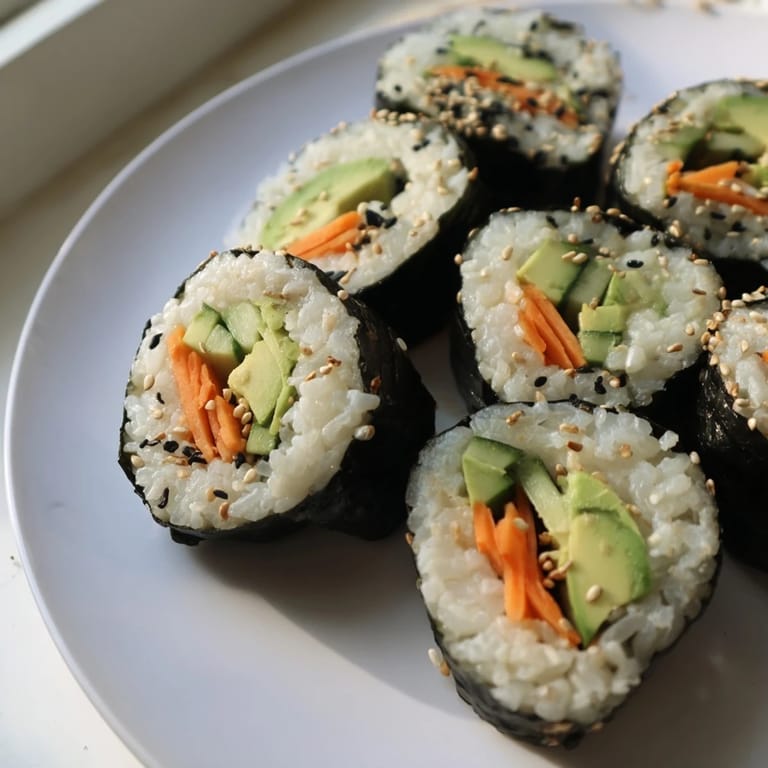
- Use a very sharp knife dipped in water between each cut to prevent dragging; you'll get 6-8 pieces per roll depending on how thick you like them.
- Serve and enjoy:
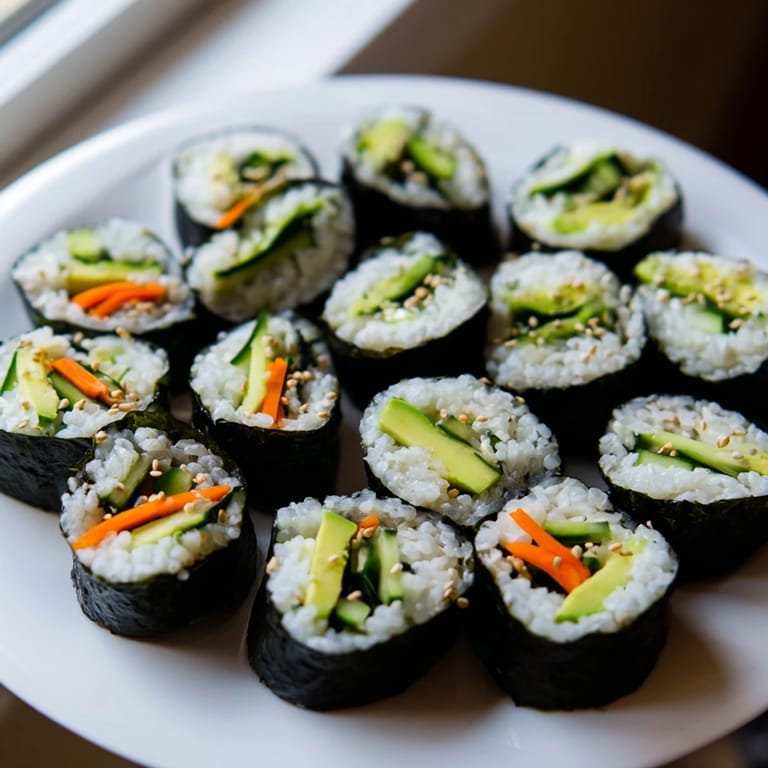
- Arrange on a plate and let each person customize with soy sauce, pickled ginger, and wasabi to their taste.
 Save
Save There's something quietly grounding about rolling sushi by hand, the rhythm of stretching rice and arranging vegetables like you're composing something small and perfect. I've never been the kind of cook who enjoys complexity for its own sake, but this dish taught me that simple ingredients treated with attention create something memorable.
Rice Mastery Matters
Getting sushi rice right is the entire game—it's not just about cooking it, but about seasoning it while it's still warm enough to absorb the vinegar and cool it at exactly the right pace. Many people rush this step or skip the cooling phase, and then wonder why their rolls feel lifeless. The rice should taste slightly sweet, tangy, and salty all at once, with individual grains that hold together but don't clump. If you nail this part, everything else becomes forgiving.
Rolling Technique and Consistency
The bamboo mat is your best friend, not your enemy—it's designed to support the roll while your hands guide it. The first roll will always feel awkward, but by the second or third, your hands remember the motion and the pressure needed to keep things compact without crushing the filling. Keep your hands slightly damp throughout, which prevents the rice from sticking uncomfortably and helps seal that final border with water. The mat itself should be covered with plastic wrap for easy cleanup and to prevent moisture from damaging the bamboo.
Customization and Variations
Once you're comfortable with the basic avocado and cucumber combination, the world opens up—bell peppers for sweetness, radish for peppery bite, even strips of tofu or tempeh if you want protein. I've also played with brown sushi rice for a nuttier flavor and more fiber, though it requires slightly different water ratios. The beauty of this format is that it's infinitely adaptable to whatever is fresh or whatever you're craving that day.
- Toast your own sesame seeds instead of buying them pre-toasted; the flavor difference is noticeable and worth two minutes of attention.
- Make the rice ahead of time and store it covered at room temperature; it's actually easier to work with after it's cooled completely.
- If nori intimidates you, practice rolling with a regular kitchen towel first to build confidence without wasting expensive seaweed.
 Save
Save These rolls became my shorthand for hospitality—something I can make quickly when someone unexpected stops by, or when I want lunch that feels special. There's no pretension here, just good ingredients and a little bit of care, which might be the most honest kind of cooking there is.
Recipe Q&A
- → What type of rice is best for these sushi rolls?
Short-grain sushi rice works best as it becomes sticky when cooked, helping the rolls hold together.
- → Can I add other vegetables besides cucumber?
Yes, you can include julienned carrots, bell peppers, or radishes to add crunch and variety.
- → How do I keep the sushi rolls from falling apart?
Moisten the edge of the nori with water before sealing the roll, and press tightly while rolling for a compact shape.
- → Are there gluten-free options for serving?
Use tamari instead of soy sauce to maintain a gluten-free serving option.
- → Can these rolls be made ahead of time?
They are best enjoyed fresh but can be stored wrapped tightly in the refrigerator for a few hours without losing texture.