 Save
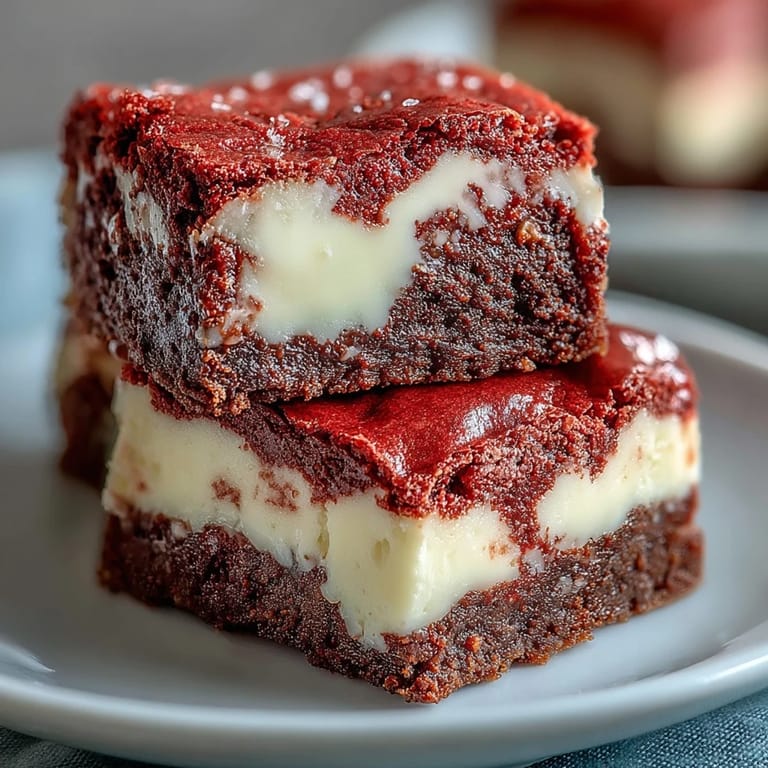
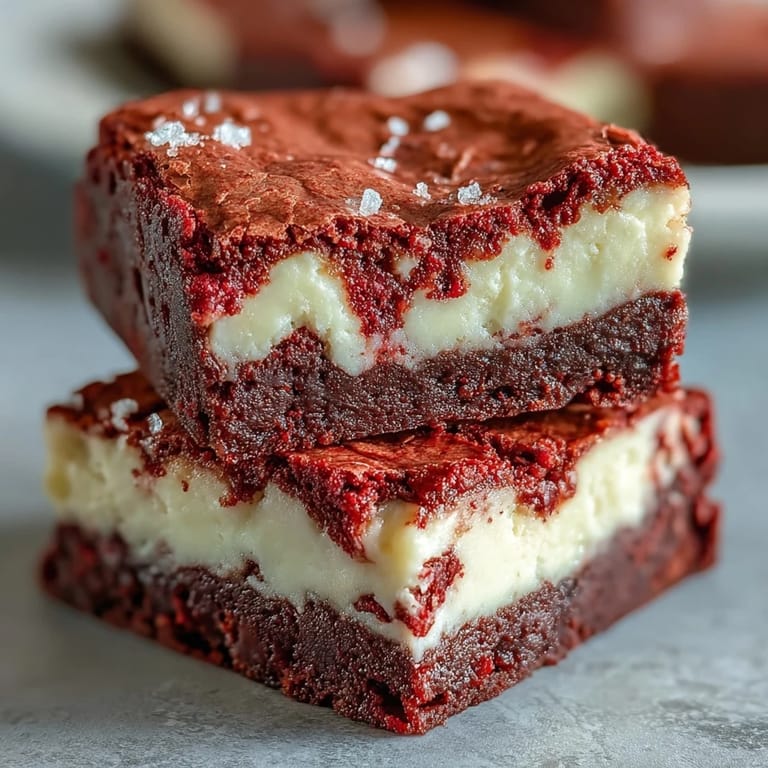
Save My neighbor brought over a pan of these brownies on a rainy Saturday afternoon, and I nearly ate three before she even explained what they were. The deep crimson swirls against creamy cheesecake looked almost too pretty to eat, but one bite ended that hesitation. I begged her for the recipe on the spot, scribbling notes on the back of an envelope while she laughed at my urgency. That same week, I made them twice, tweaking the swirl technique until it looked like the ones she'd shared. Now they're my go-to whenever I want to impress without spending all day in the kitchen.
I made these for my cousin's bridal shower last spring, and they disappeared before the punch bowls were even half empty. Someone asked if I'd ordered them from a fancy bakery downtown, which made me grin for the rest of the afternoon. The red velvet color felt festive without being overly themed, and the cheesecake layer kept them from being too heavy. I overheard two guests debating whether the brownie or the cheesecake was the best part, and I realized that balance is exactly what makes them work. They've been my secret weapon for celebrations ever since.
Ingredients
- Unsalted butter: Melted butter gives the brownie base its fudgy texture without making it greasy, and using unsalted lets you control the sweetness.
- Granulated sugar: It dissolves smoothly into the batter and helps create that shiny, crackly top we all love on brownies.
- Eggs: Room temperature eggs blend more evenly into both layers, preventing lumps in the cheesecake and streaks in the brownie.
- Vanilla extract: A small amount deepens the chocolate flavor and rounds out the tangy cream cheese.
- Red food coloring: Gel works better than liquid for vibrant color without thinning the batter, but either will do the job.
- All-purpose flour: Just enough to hold the brownies together without turning them cakey.
- Unsweetened cocoa powder: Adds a subtle chocolate backbone to the red velvet without overpowering the cheesecake.
- Cream cheese: Softened completely at room temperature is non-negotiable for a smooth, lump-free cheesecake layer.
Tired of Takeout? 🥡
Get 10 meals you can make faster than delivery arrives. Seriously.
One email. No spam. Unsubscribe anytime.
Instructions
- Prep the pan:
- Line your pan with parchment paper and let the edges hang over the sides like little handles. This makes lifting out the whole slab effortless once they've cooled.
- Mix the brownie base:
- Whisk melted butter and sugar until they look glossy, then beat in the eggs, vanilla, and red food coloring until the batter turns a deep, even crimson. Sift in the dry ingredients and fold gently, stopping as soon as the flour disappears.
- Reserve some batter:
- Scoop out about a quarter cup of the red velvet mixture and set it aside in a small bowl. Spread the rest evenly in your prepared pan, smoothing it into the corners.
- Make the cheesecake layer:
- Beat the softened cream cheese until it's completely smooth and fluffy, then add the sugar, egg, and vanilla. Mix until the texture is silky and there are no lumps hiding at the bottom of the bowl.
- Layer and swirl:
- Pour the cheesecake mixture over the brownie base and spread it gently to the edges. Drop spoonfuls of the reserved red velvet batter on top, then drag a knife or skewer through in figure-eight motions to create marbled swirls.
- Bake until set:
- Slide the pan into the oven and bake for 35 minutes, until the center barely jiggles and a toothpick comes out with moist crumbs. Let them cool completely in the pan, then refrigerate for at least two hours before slicing.
 Save
Save The first time I served these at a book club meeting, my friend Sarah took one bite and declared them dangerous. She meant it as a compliment, but she also meant she couldn't stop reaching for another square every time the conversation lulled. By the end of the night, half the pan was gone and three people had texted themselves photos of the recipe card I'd brought. That's when I realized these brownies have a way of turning casual gatherings into something people remember.
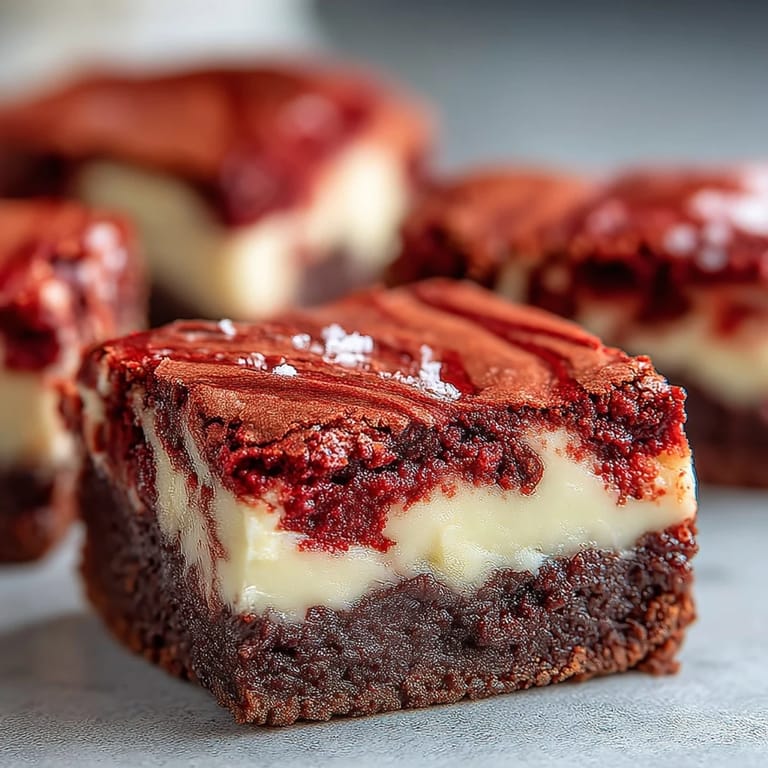
How to Get the Perfect Swirl
The swirl is where these brownies go from pretty to stunning, but it's easier than it looks. Drop the reserved red velvet batter in dollops across the cheesecake layer, spacing them out like polka dots. Then take a butter knife or wooden skewer and drag it through the batter in long, smooth strokes, changing direction every few inches. Don't overdo it or the colors will muddy together. I learned that lesson the hard way when I got too enthusiastic and ended up with brownish-pink blobs instead of defined swirls.
Storage and Make-Ahead Tips
These brownies actually taste better the next day after the flavors have had time to settle and meld in the fridge. I make them a day ahead for parties and store them in an airtight container between layers of parchment paper. They'll keep for up to five days in the refrigerator, though they've never lasted that long in my house. If you want to freeze them, wrap individual squares tightly in plastic wrap and then foil. They thaw beautifully on the counter in about an hour.
Variations and Add-Ins
Once you've made these a couple of times, they become a canvas for whatever sounds good. I've stirred white chocolate chips into the brownie batter for extra sweetness, and I've added a handful of chopped pecans for crunch. My sister swears by a thin layer of raspberry jam between the brownie and cheesecake layers, which adds a fruity tang that cuts through the richness.
- Fold mini chocolate chips into the cheesecake layer for pockets of melty chocolate.
- Add a teaspoon of espresso powder to the brownie batter to deepen the chocolate flavor.
- Drizzle melted white chocolate over the top once they've cooled for an elegant finish.
 Save
Save Every time I pull these out of the oven and see those crimson swirls against the creamy white, I feel a little proud. They're the kind of dessert that makes people lean in closer and ask for seconds before they've finished their first.
Recipe Q&A
- → Can I use natural food coloring instead of artificial dye?
Yes, you can use natural red food coloring, though the color may be less vibrant. Beet powder is a popular natural alternative, but you'll need about 2-3 tablespoons to achieve noticeable color.
- → Why do my brownies have a cake-like texture instead of fudgy?
Overmixing the batter or overbaking can create a cake-like texture. Mix just until ingredients are combined and remove from oven when a toothpick shows moist crumbs, not completely clean.
- → Can I make these brownies ahead of time?
Absolutely! These brownies actually taste better after refrigeration. Make them 1-2 days ahead and store in an airtight container in the refrigerator. They'll stay fresh for up to 5 days.
- → How do I create perfect swirls in the cheesecake layer?
Dollop small spoonfuls of the reserved red velvet batter across the cheesecake layer, then drag a knife or skewer through in figure-eight motions. Don't over-swirl or the layers will blend completely.
- → Can I freeze these brownies for longer storage?
Yes, wrap individual brownies tightly in plastic wrap, then place in a freezer-safe container. They'll keep for up to 3 months. Thaw overnight in the refrigerator before serving.
- → What can I substitute for cream cheese in the cheesecake layer?
For a similar tangy flavor, try mascarpone cheese or Greek yogurt cream cheese. Regular substitutions may alter the texture, so full-fat cream cheese works best for authentic results.